    References / sketches 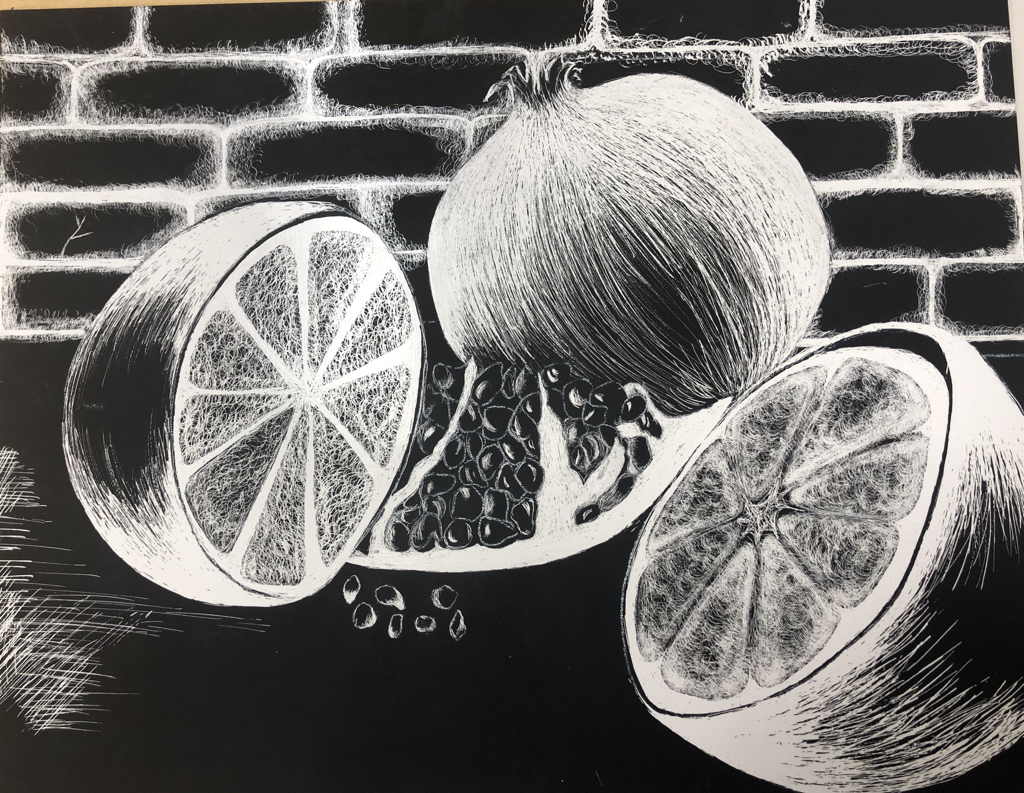 Final Implied Movement Scratch board –
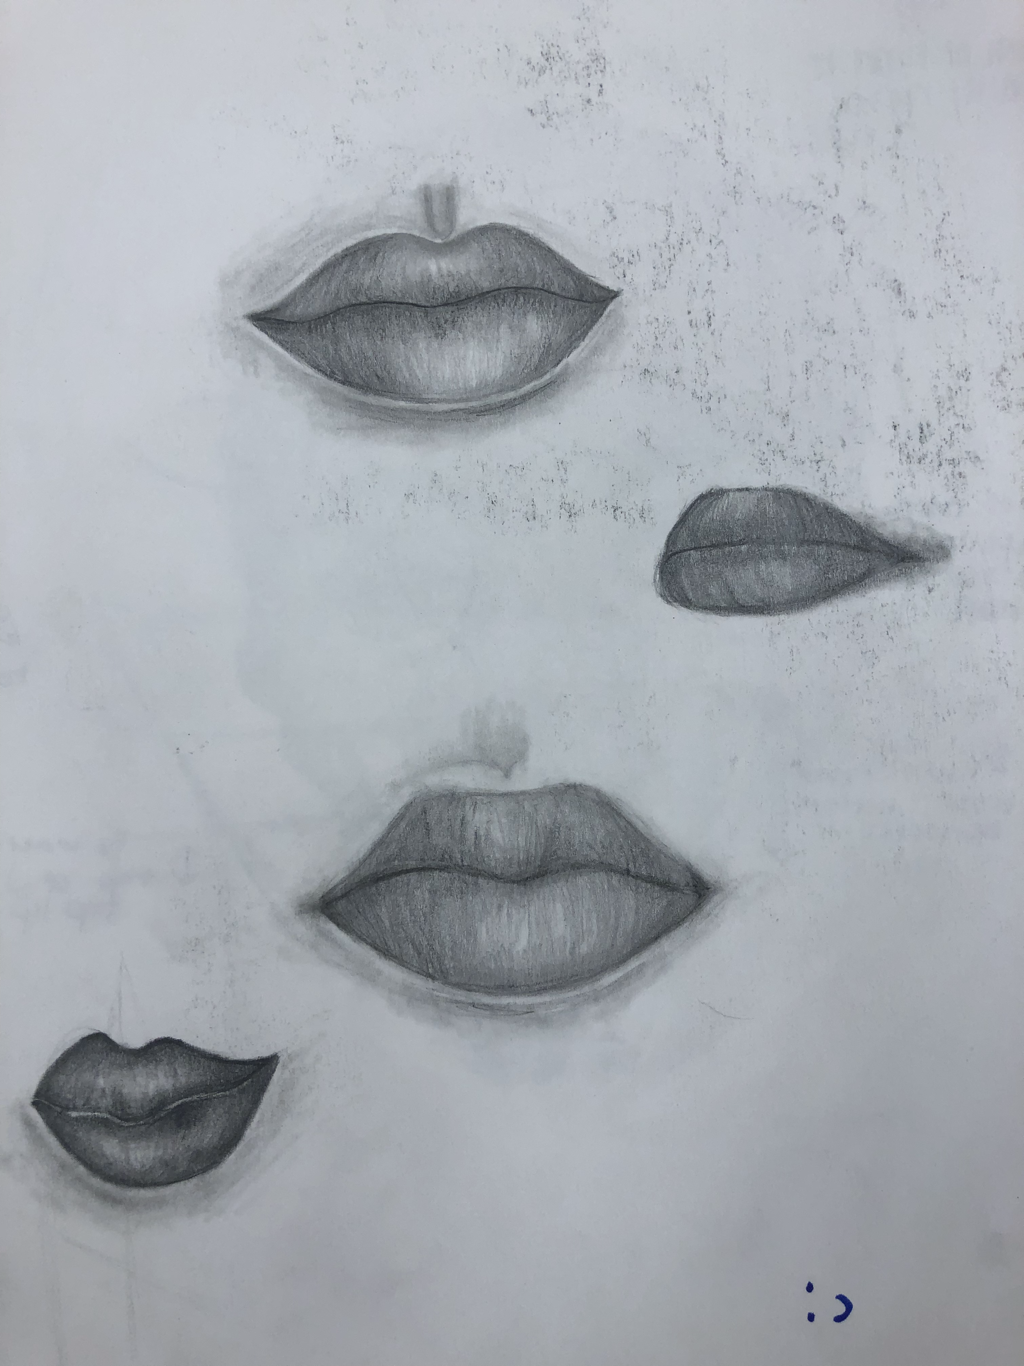
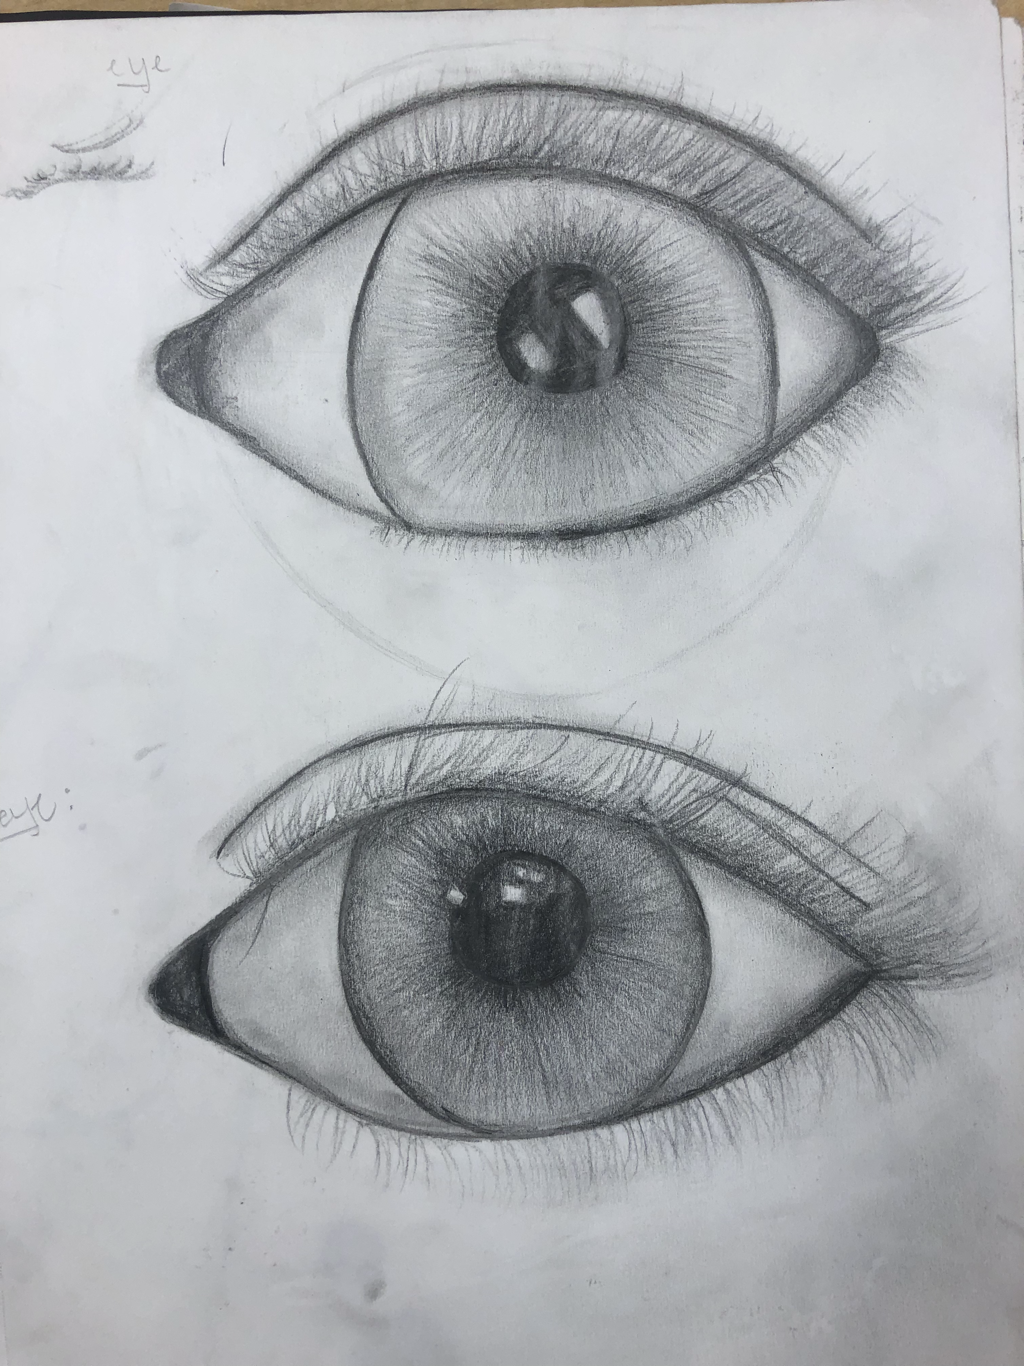
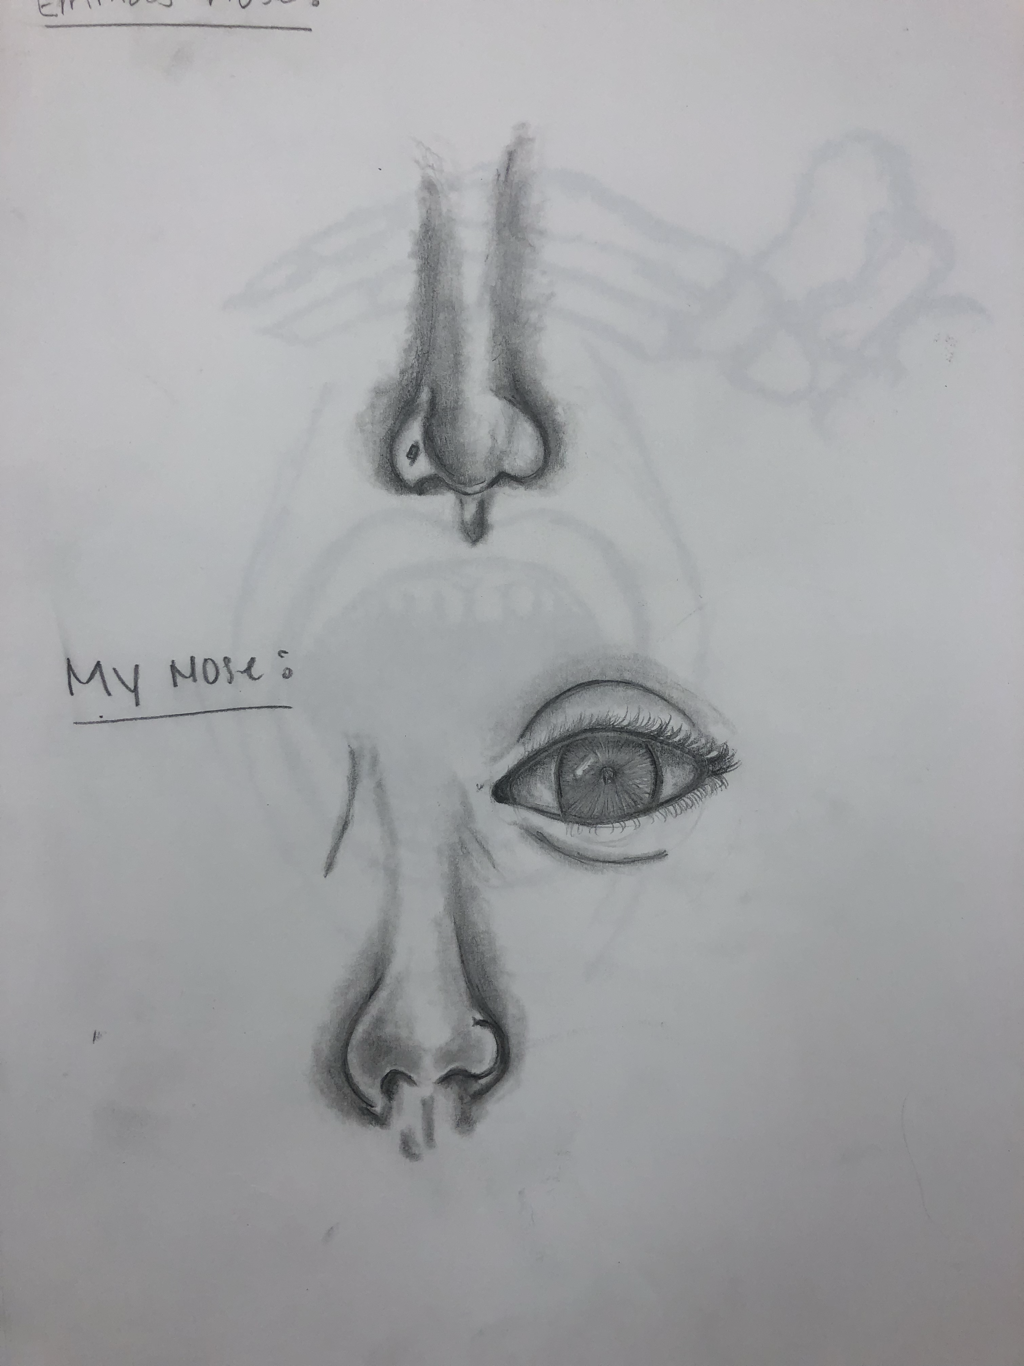
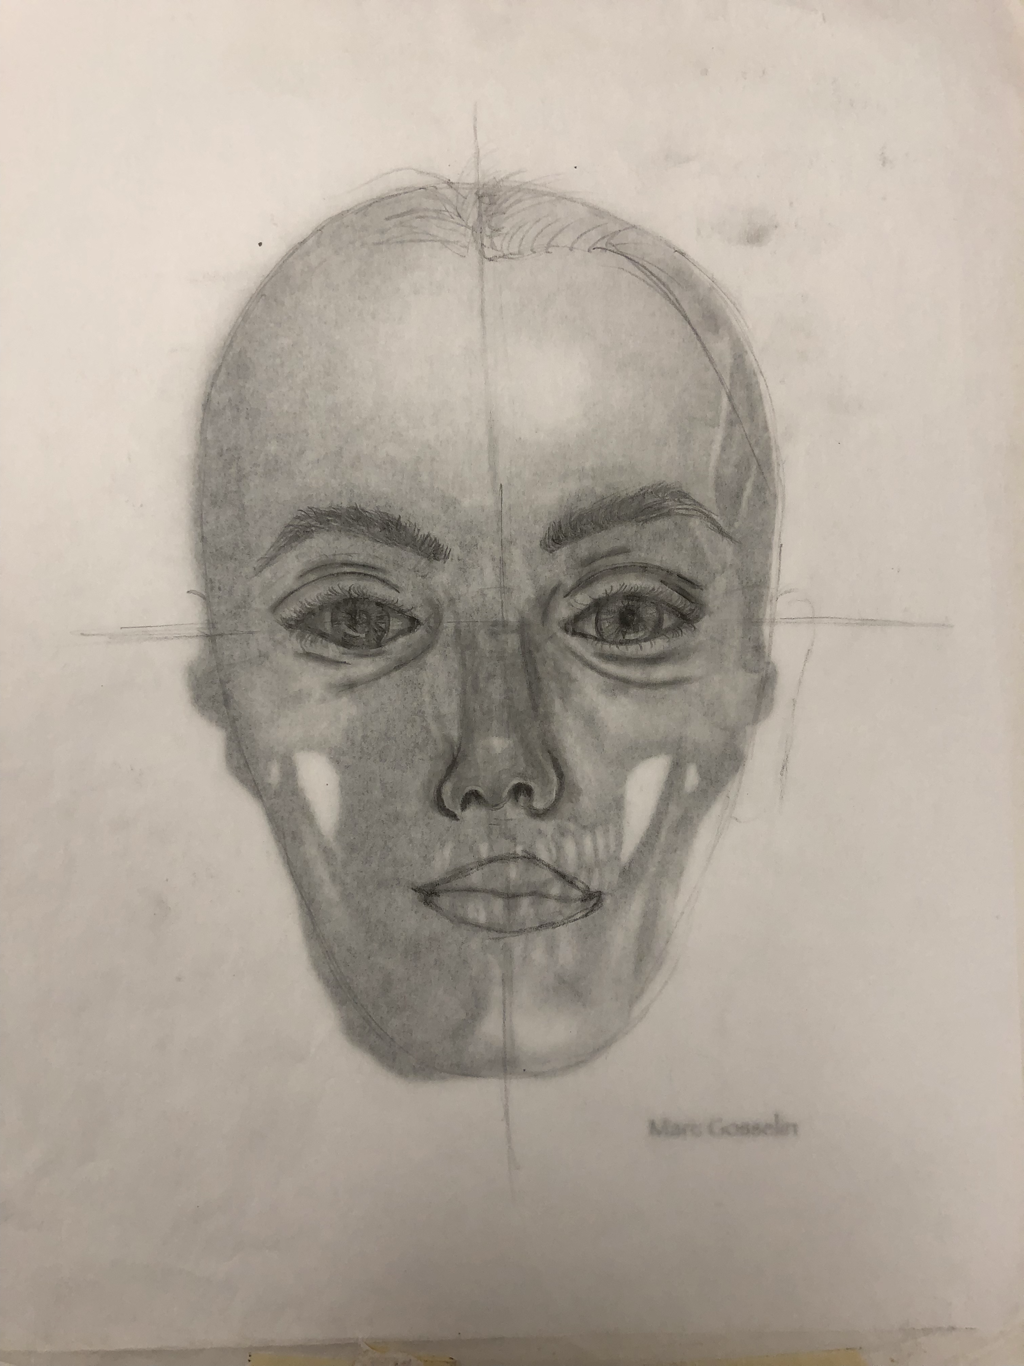 in this activity, we practiced where each feature exactly goes on the face to make it look as realistic as possible
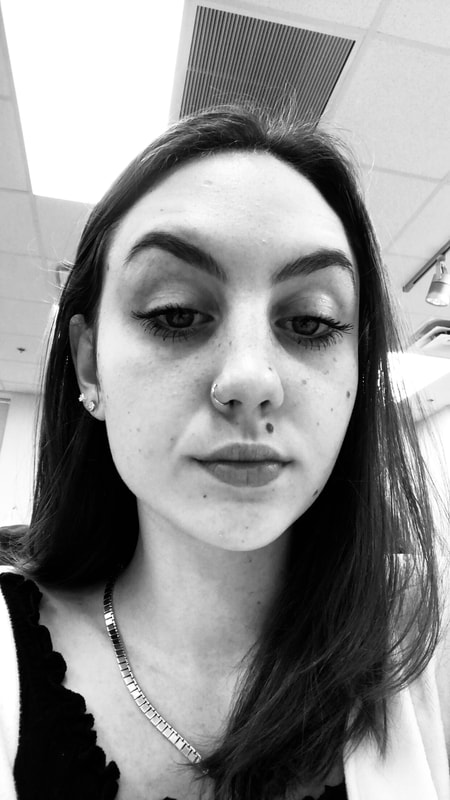 reference photo 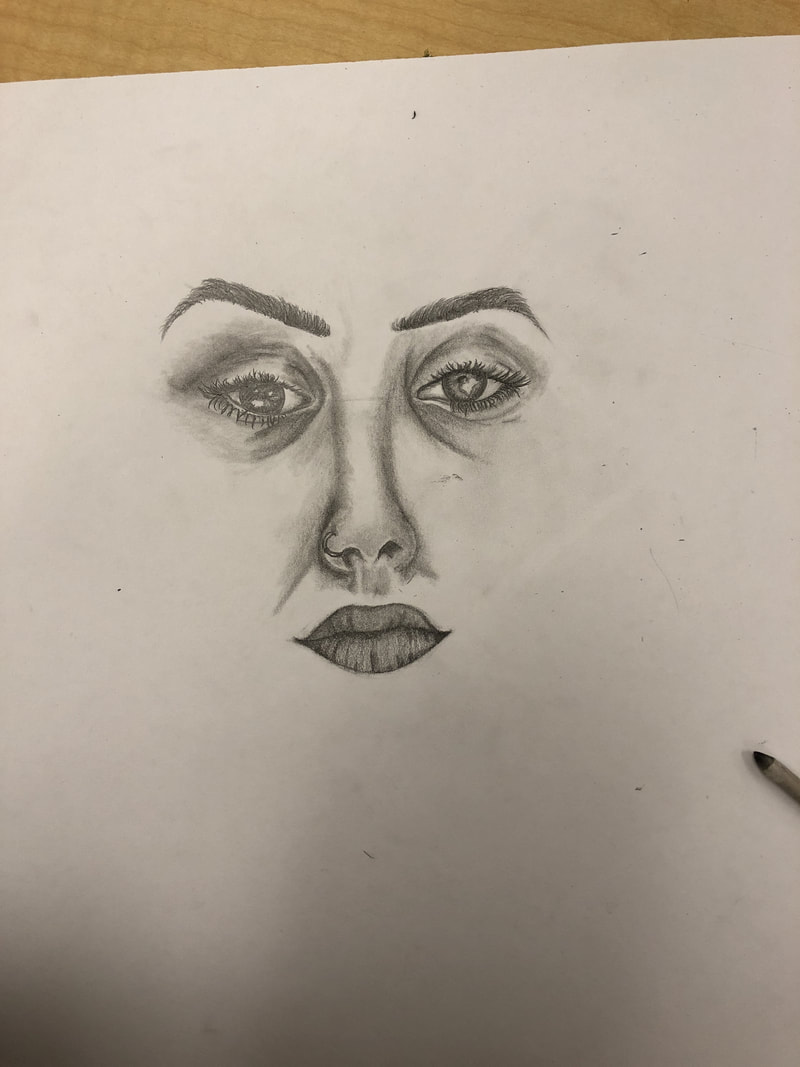 in progress 1 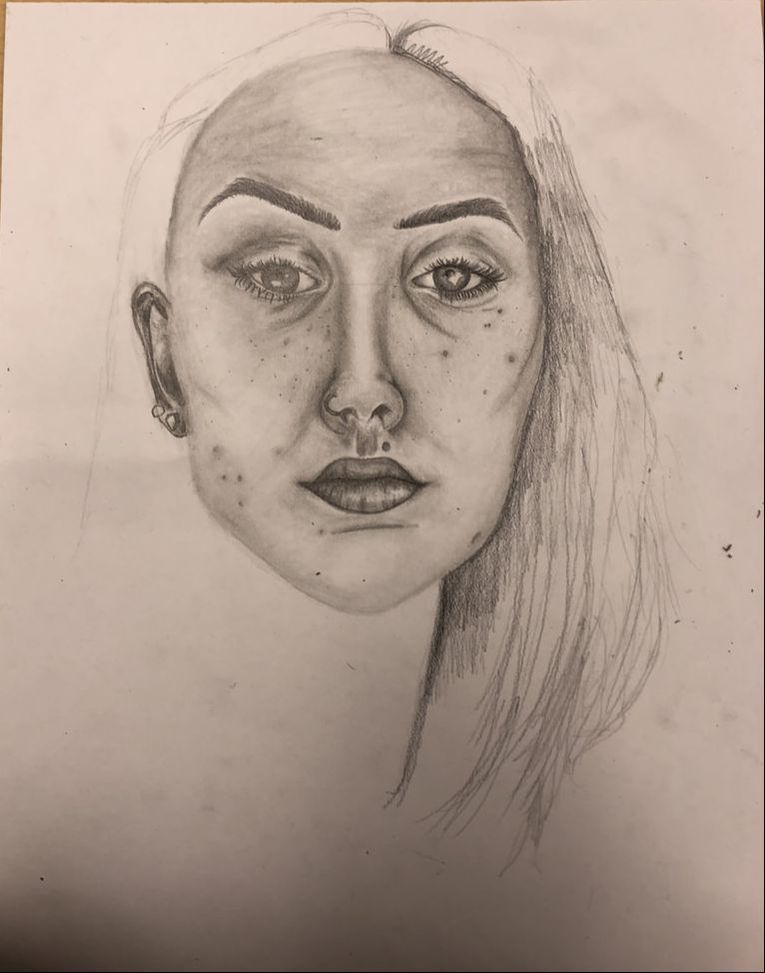 in progress 2 iI1) First, we practiced face proportions by measuring the eyes, and then creating the rest with reference to that, then we practiced drawing on top of a general skull outline. When i started my final i did the basic outline of all the features, then went in to put the darkest darks and continued shading to give it a realistic look. I made sure to keep pencil strokes to a minimum and tried to keep all the highlights 2) To find the different values in my reference picture, i put it into gray scale which darkened the values and made them easier to see, then when i transferred them onto my work I exaggerated them to make it look more realistic. 3) I think I reached all the different values in my piece because every part is shaded, even if is just the smallest amount which allowed all the values to flow together well and stand out in different parts. 4) I think my artwork isn't that neat, because of the style i use, but it was executed well in my opinion and overall i think the work looks nice and im proud of the way you can tell it is me even though it does not look exactly like me 5) I think my eyes and eye brow definitely added to capturing what i look like because they are a very prominent feature on my face and I think i executed them well. 6) To ensure correct facial feature placement , i used the tip MS. Rossi showed us by measuring the eyes and using them as reference, i had to manipulate parts of it to make it look more like me but overall that helped me to get everything in the correct place. 7) It was definitely easier to draw a whole face after i learned each feature by itself, because then i could focus in on each one and make sure it was correct / had enough value. I didn't know how to draw features realistically before this project but the videos and practice we did before definitely helped me to capture the look i wanted. 8) For me , the most beneficial part of this lesson was learning to draw noses, because that is something i had no idea how to do and i realized i was pretty good at it and i will take everything i learned and use it in future art works because drawing faces was something i avoided all together. 9) Some obstacles for me was drawing the lips and hair, i ended up with the look i have by being patient and really paying attention to the darks and lights in my reference photo and adding many layers . 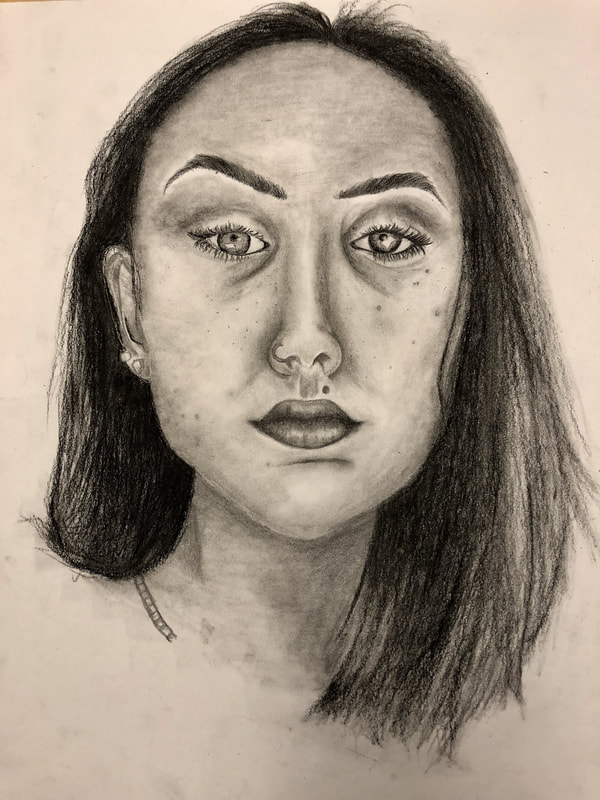 finished piece 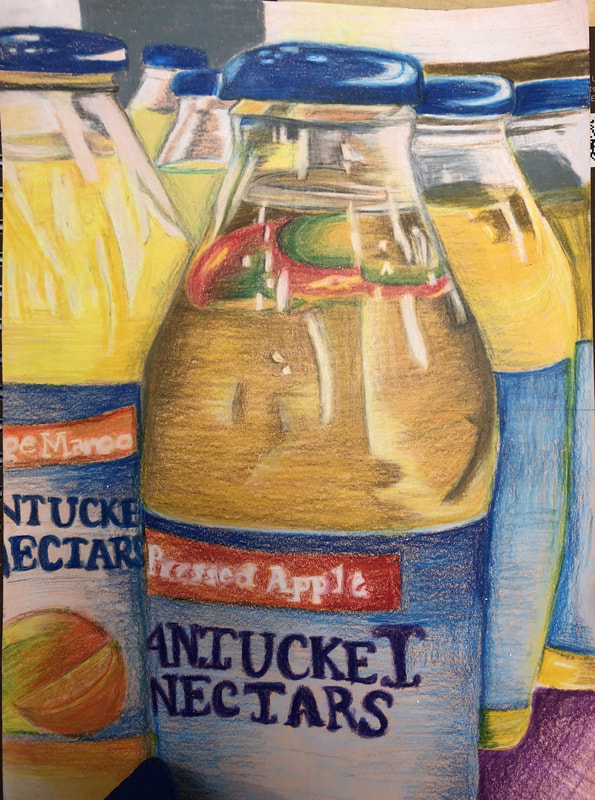
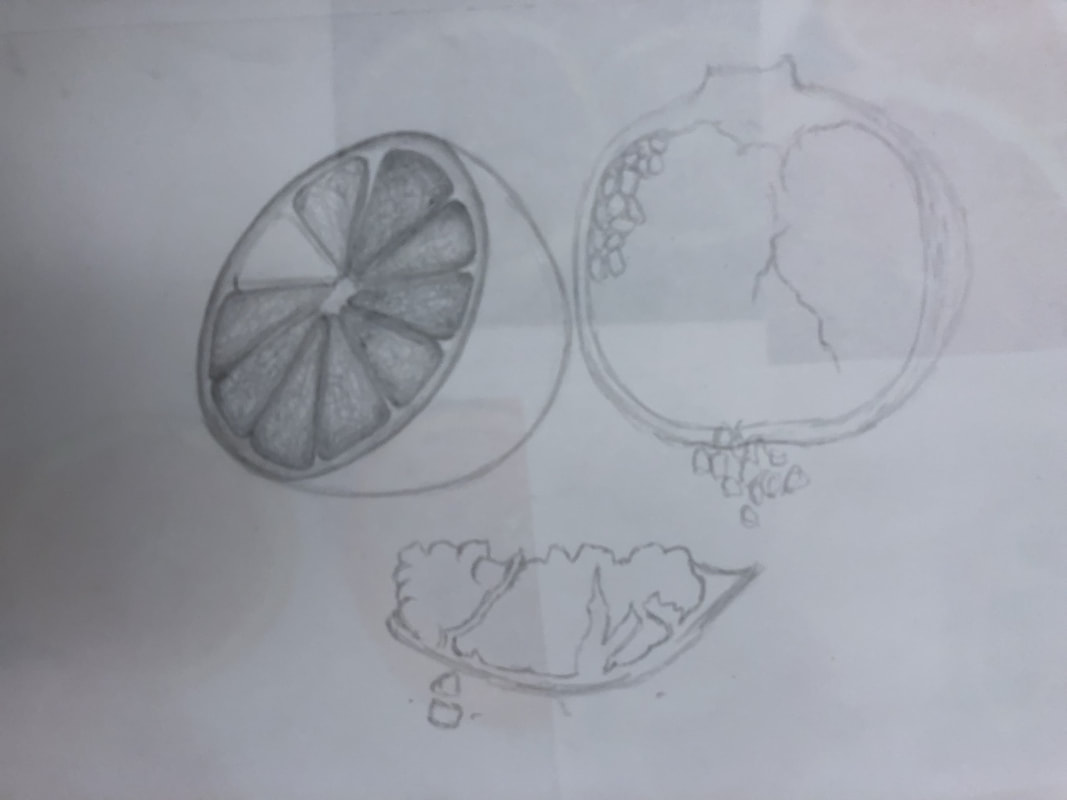
 This was a practice opacity for our main project. I used pastel pencils and regular pastel. I think it helped me to get more practice with drawing plastic and getting the highlights right
 practice pumpkin 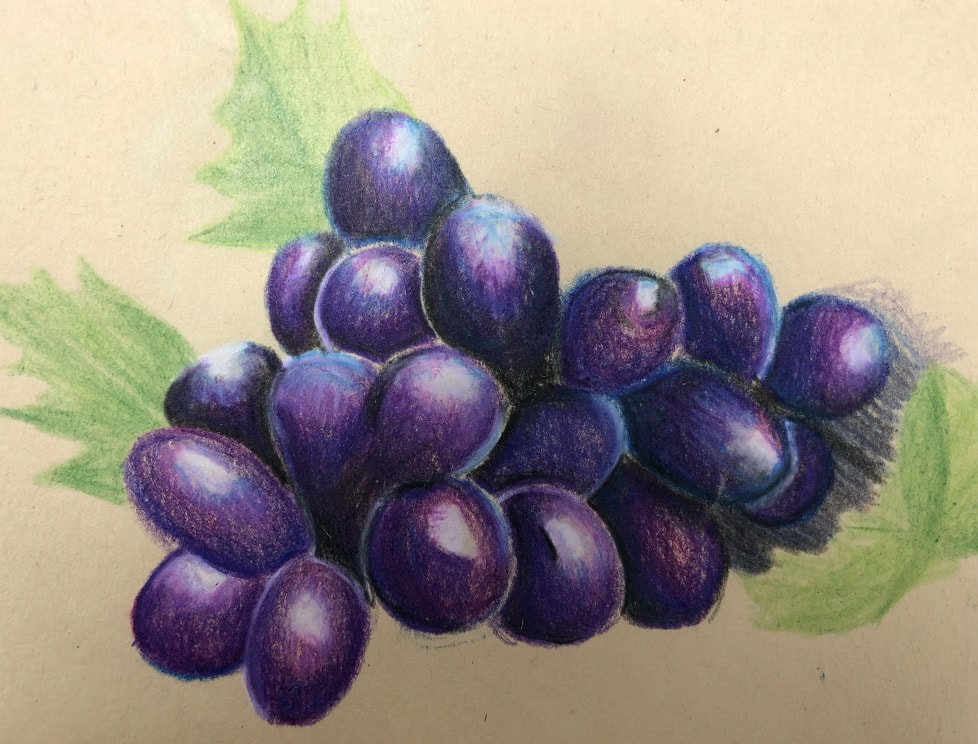 Practice grapes 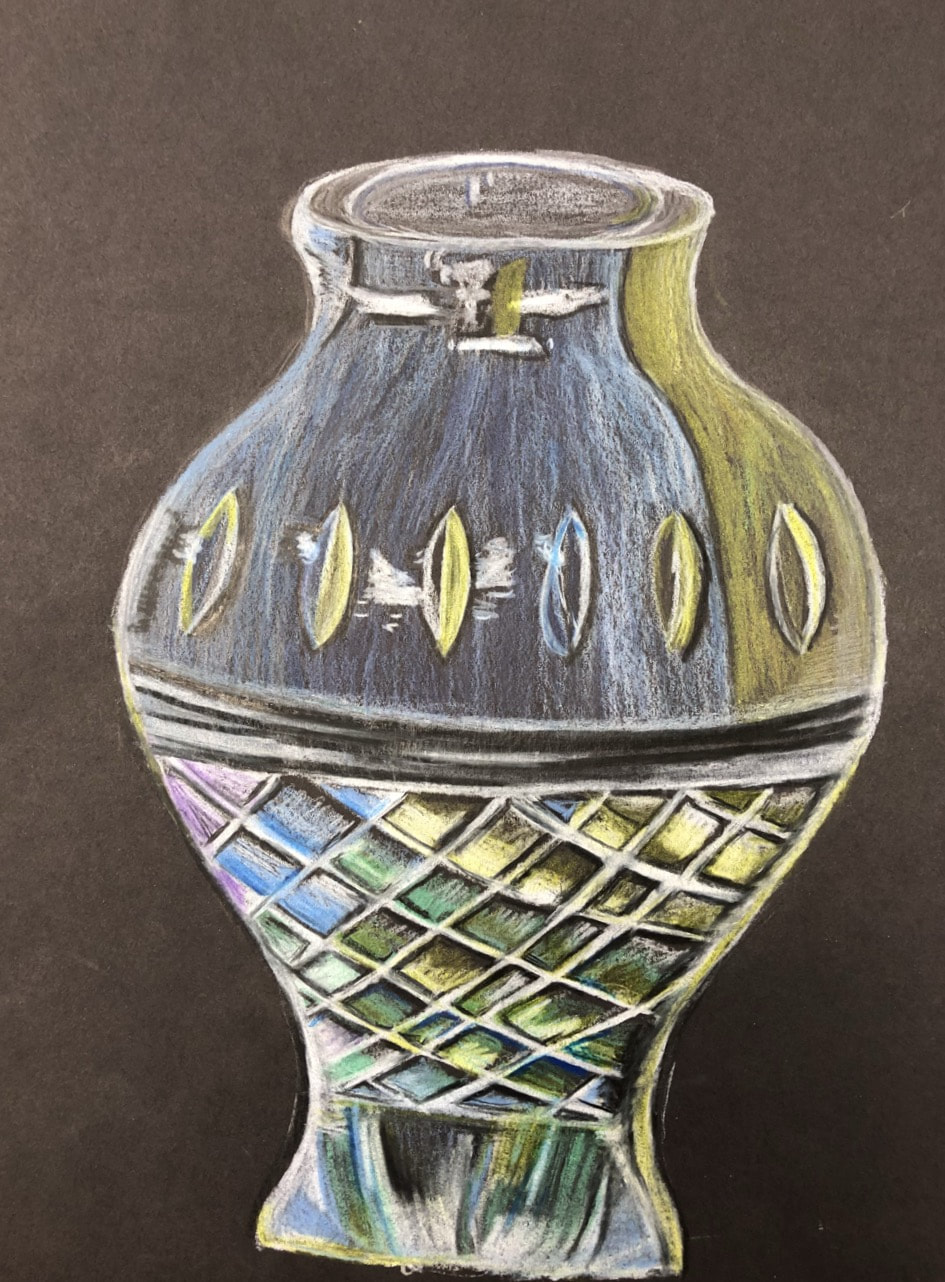 Glass 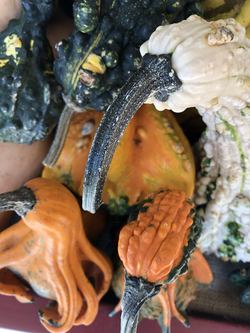 Subject for final Subject for final 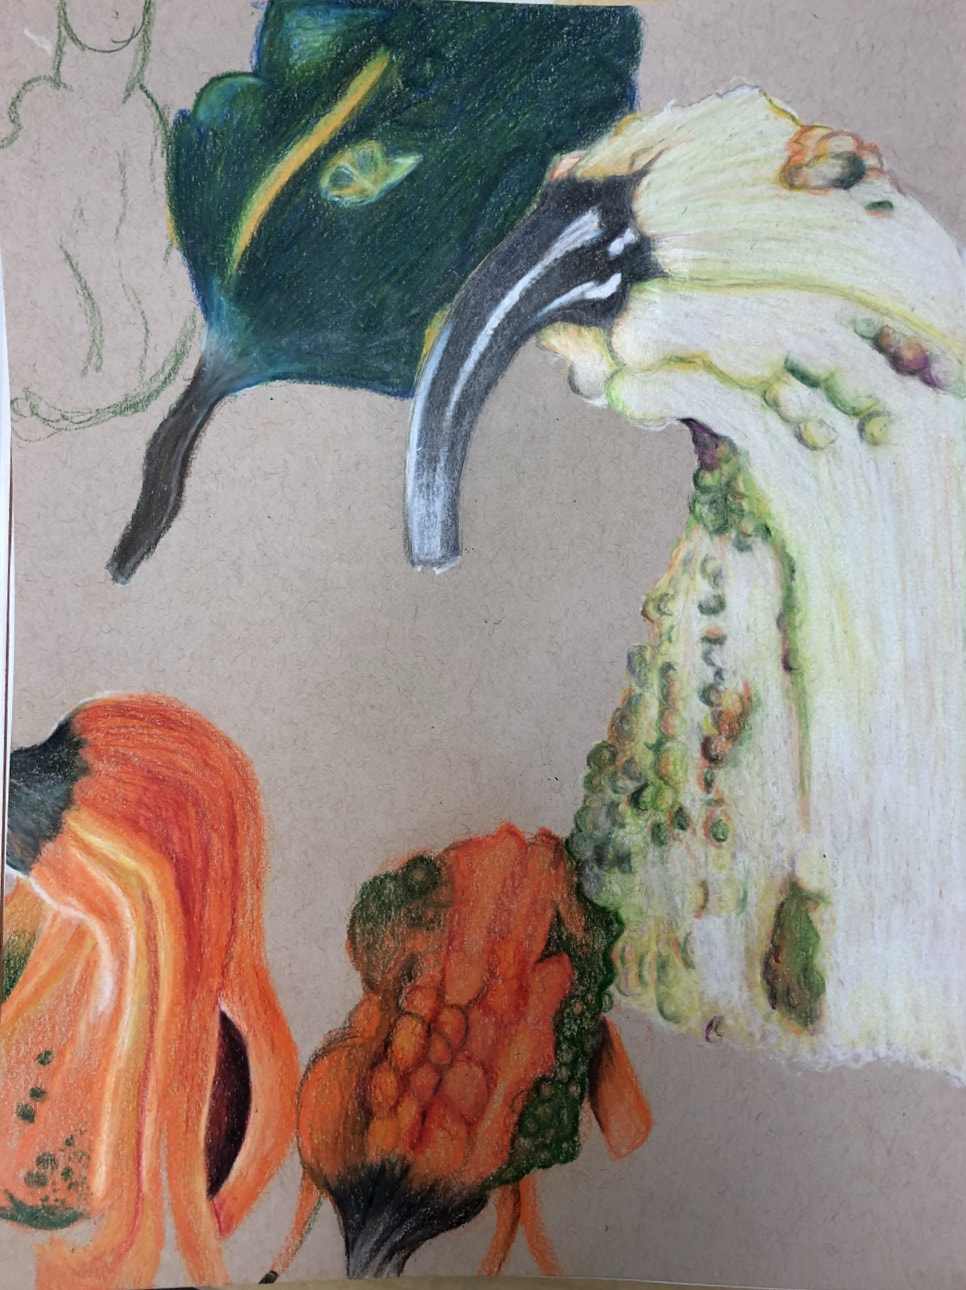 In progress 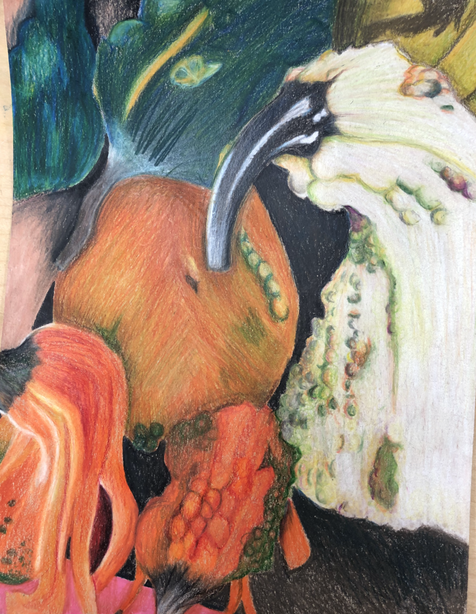 final 1) I tried to create an interesting point of view by showing foreshortening in the gourds as i took the picture from above and they are supposed to be coming forward, i was some what successful but i think the composition couldve been done better
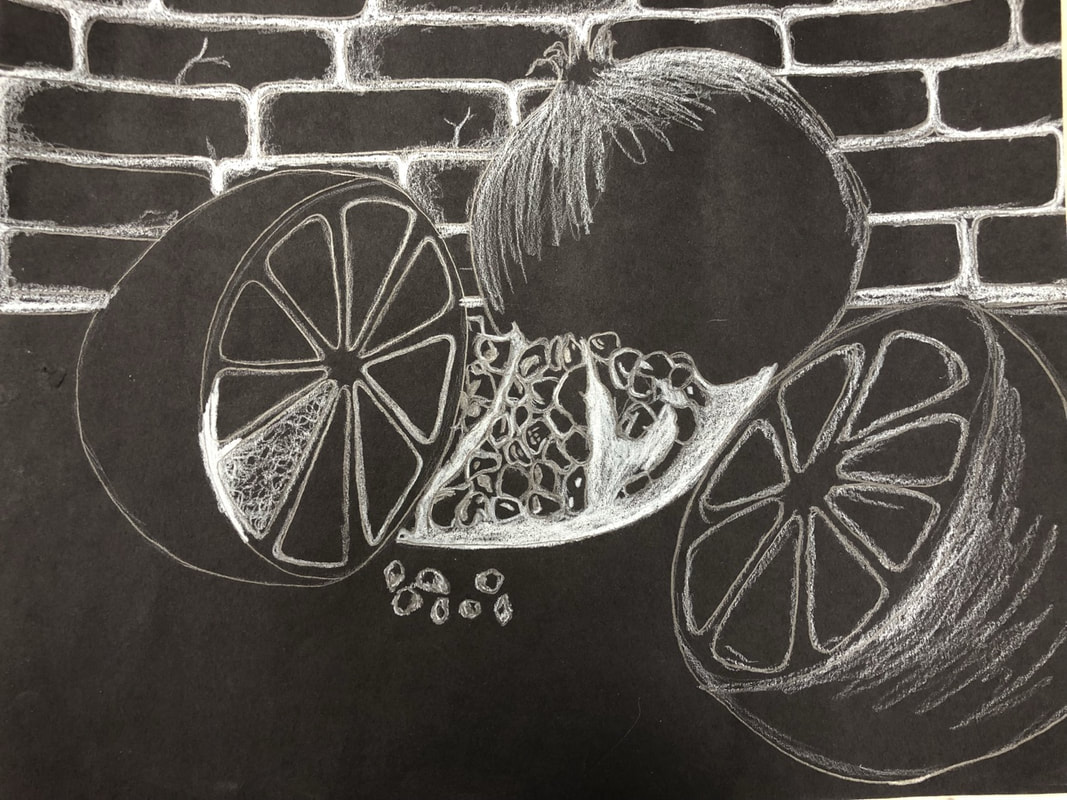
2) It is important to show perspective in art so that your work doesn't look flat which makes it look more realistic and by adding value it really brings it all together. 3) the exercises we did before this project helped me to practice values and blending the prisma color, I love how you can get multiple shades and textures by using different colors. That's why i chose to draw something so colorful. 4)the techniques i used to create this piece really brought it together, i used shadows and highlights to show where objects overlapped or came forward. Using multiple colors really helped me to create a good amount of texture and to capture all of the values in the gourds. 5) I was able to create foreshortening by using dark darks for the foreground to show shadows and less darks for the middle ground and to bring it forward i used bright vibrant colors for the objects closest that needed the most emphasizes. 6) The obstacles i faced was once i reached burnishing i couldn't really add more colors in the first gourd i drew ( far right) so i couldn't create as much foreshortening in that one as i would have liked to. But luckily i started to use lighter pressure and more layers where needed in the next ones created. I think i had advantage in all the colors pictured because the key to prisma is multiple different colors to create value. 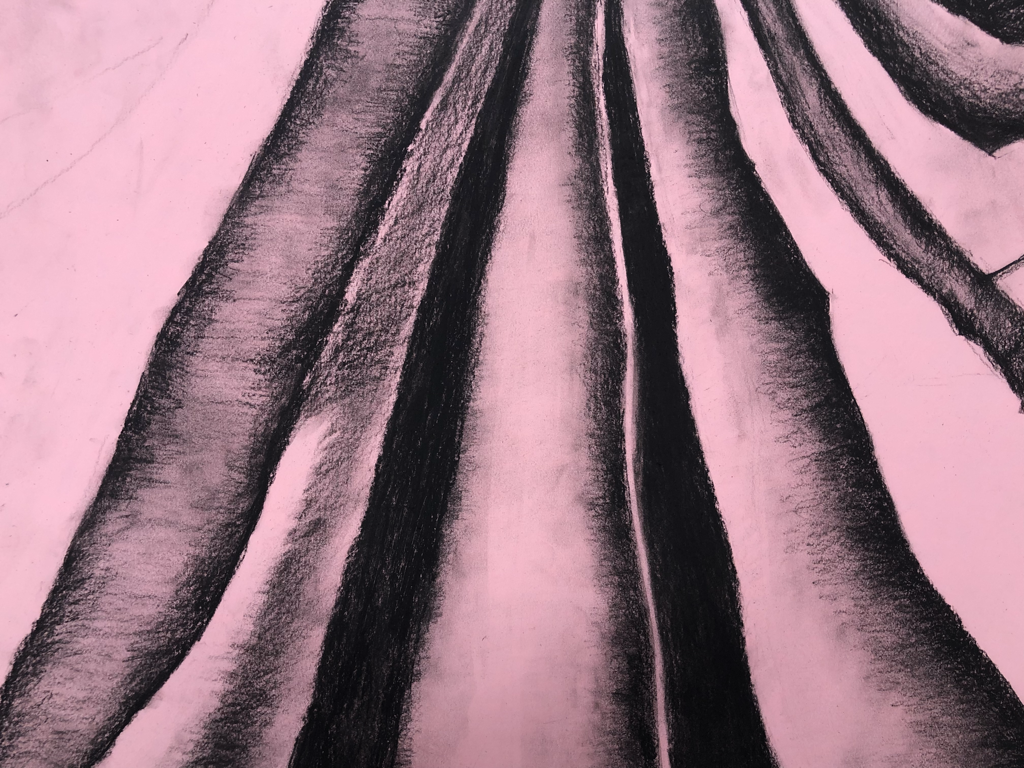 1) for this project I used charcoal which I am not used to at all, I tried my hardest to get a wide range of values but had trouble because it is so pigmented I think with more practice I can learn to get more values as I can with pencil
2) Practicing with values before doing this project really helped me because the only way to create the real ness of fabric is to use values , if I were to do this again I would use a lot more texture to show the flow of the fabric 3) I wasn’t very proud of my transitions in this work because usually they look more smooth, i saw very dark areas which I made black in my art but I think it should’ve been more light and blended into the other values. 4) creating Texture is very important because the look of fabric has a lot of texture that is hard to see but Is actually the main focus of the subject , I could’ve done a better job of this by using different line work and having more control over the values / direction of the lines 5) If I could recreate this I would probably use a different material , I think using white pencil on this would’ve created a better outcome because I could’ve enhanced the highlights more instead of the shadows , which I think is important in creating texture and value. 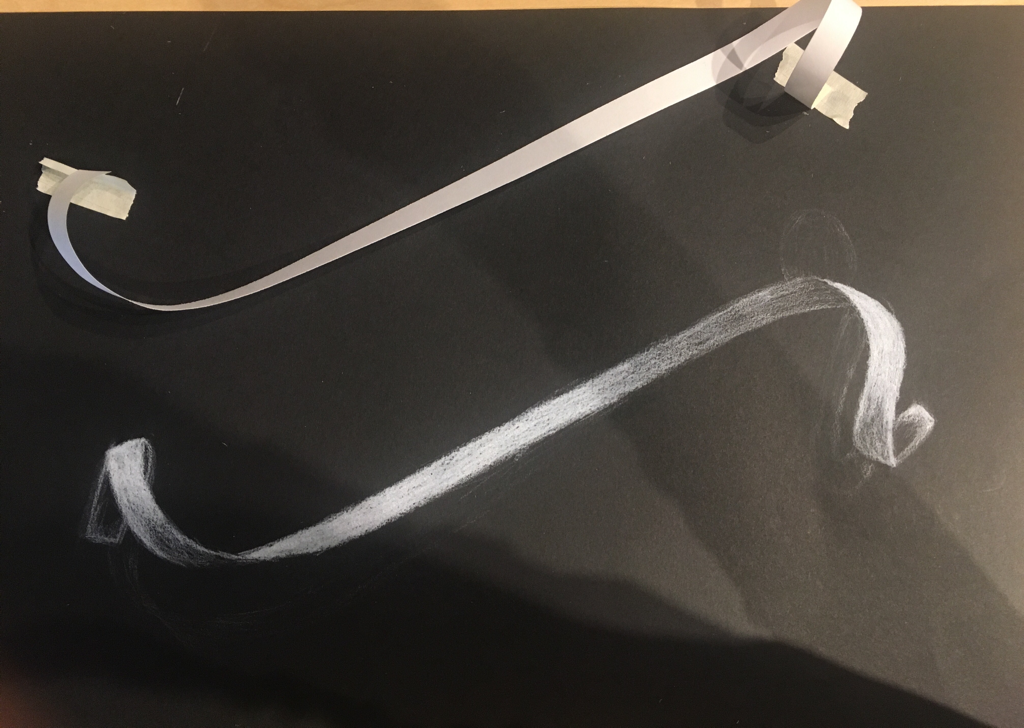 White value chart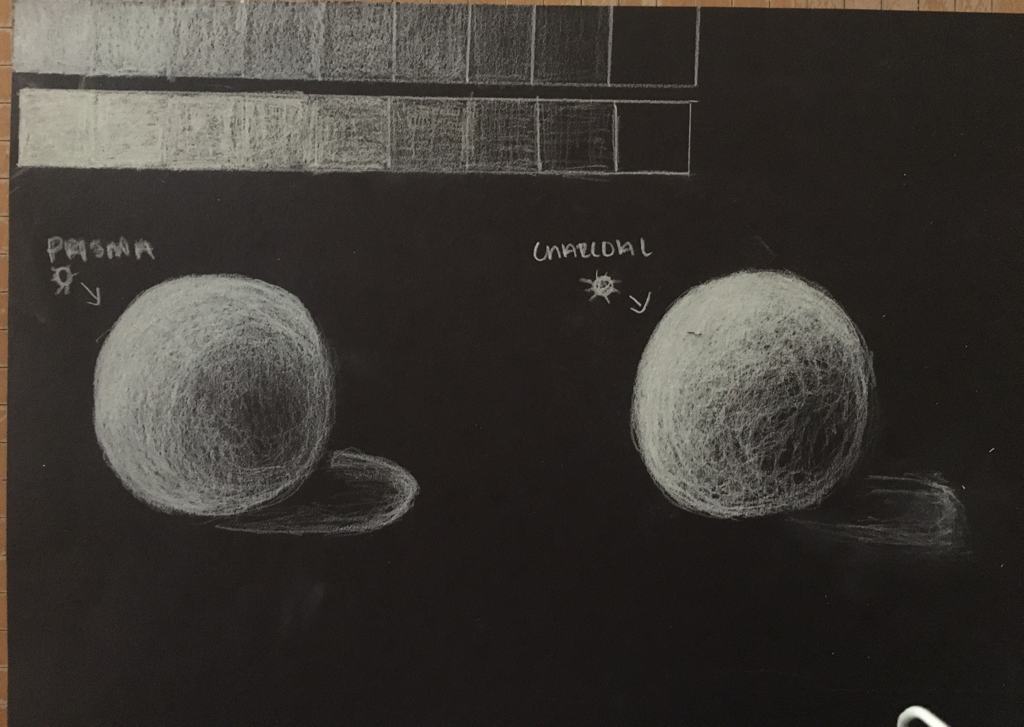 Pencil value chart and shapes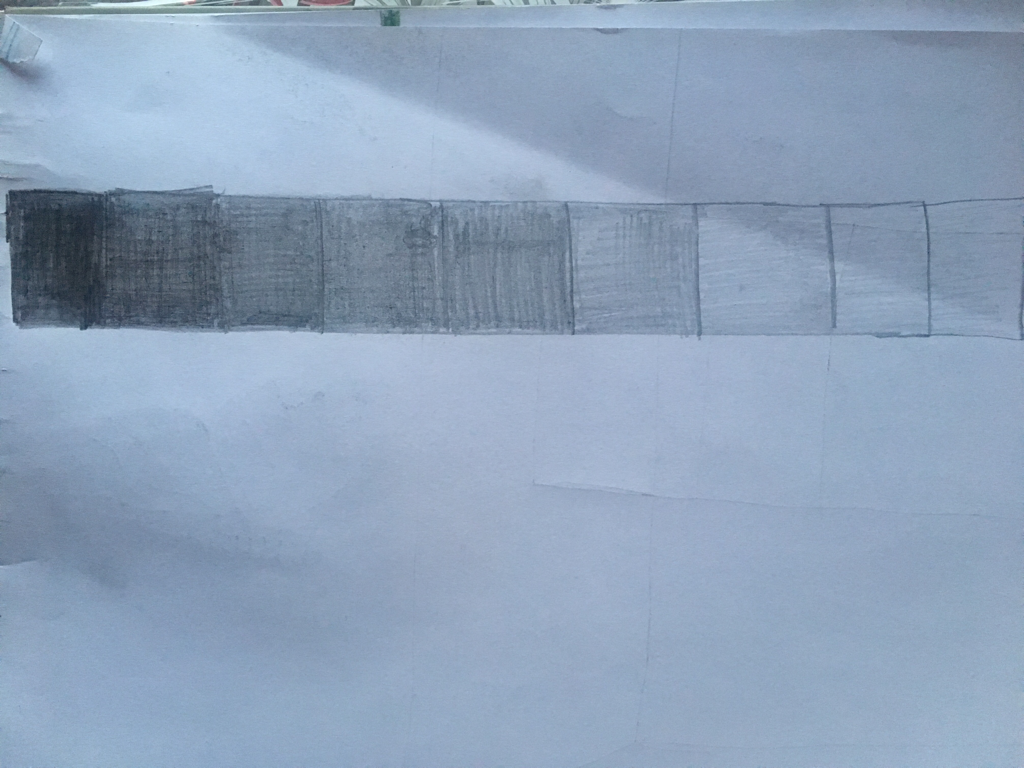 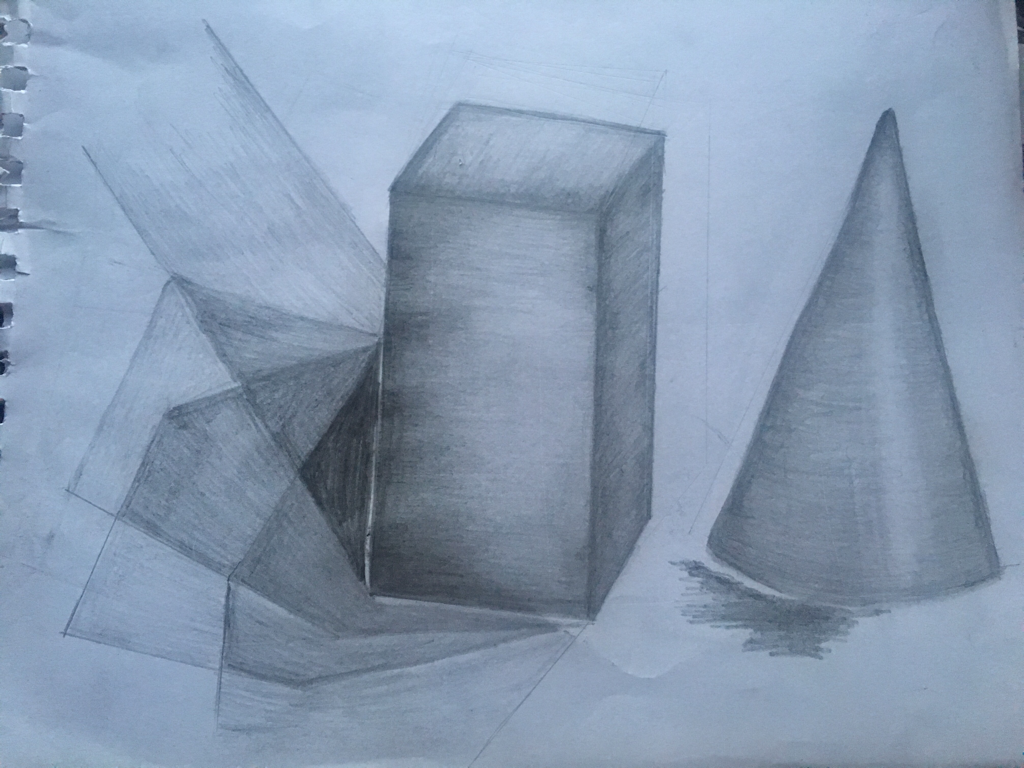 Fabric in 3 colors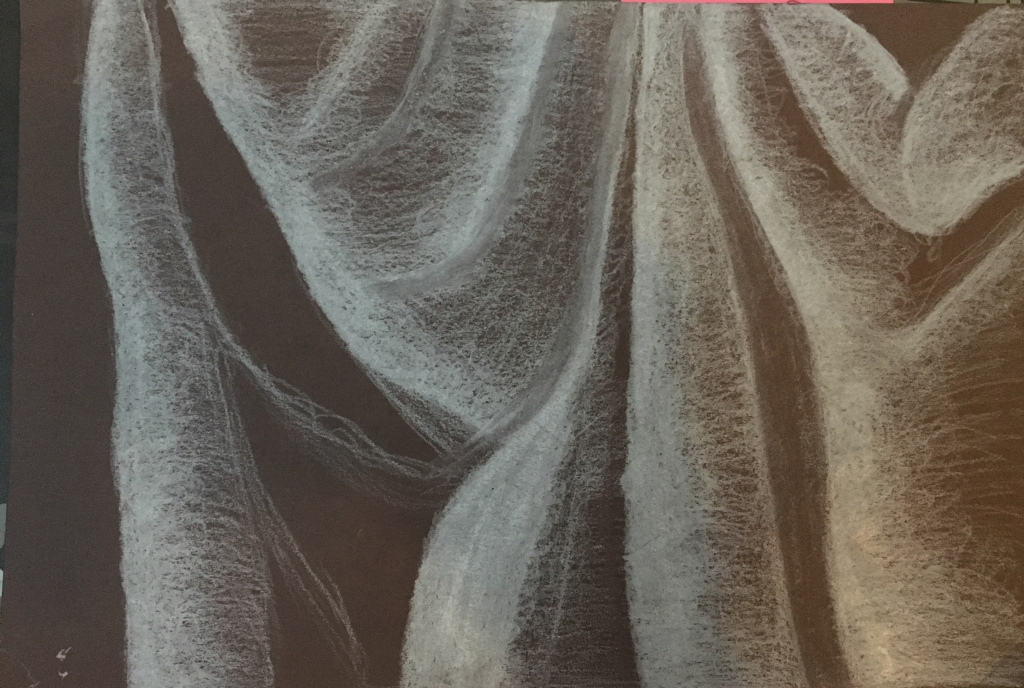 fabric 1 - white prisma on brown paper 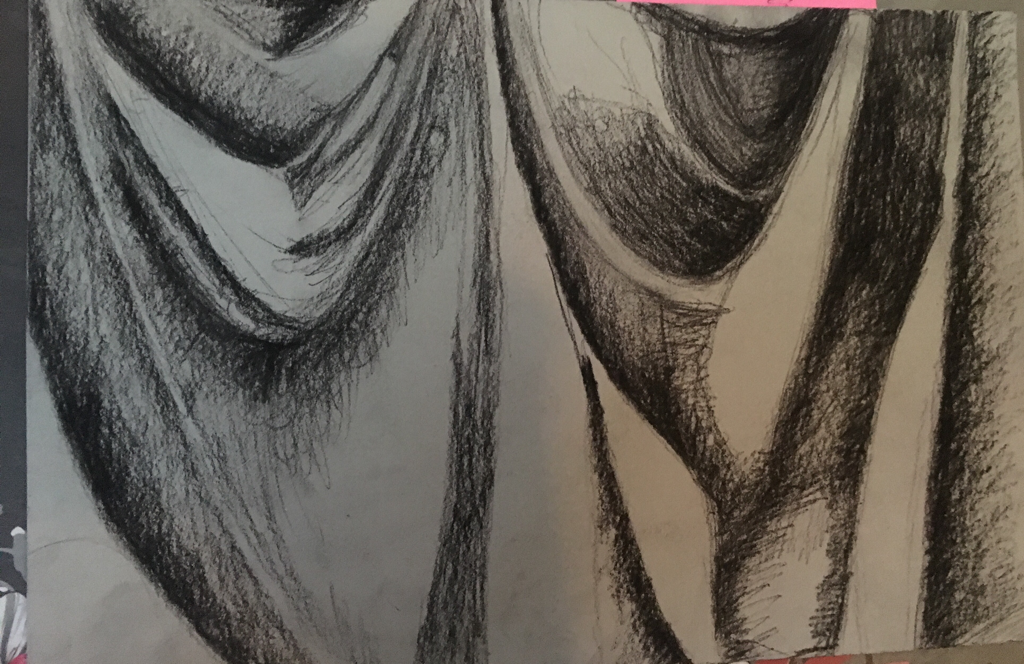 fabric 2 - black charcoal on grey paper 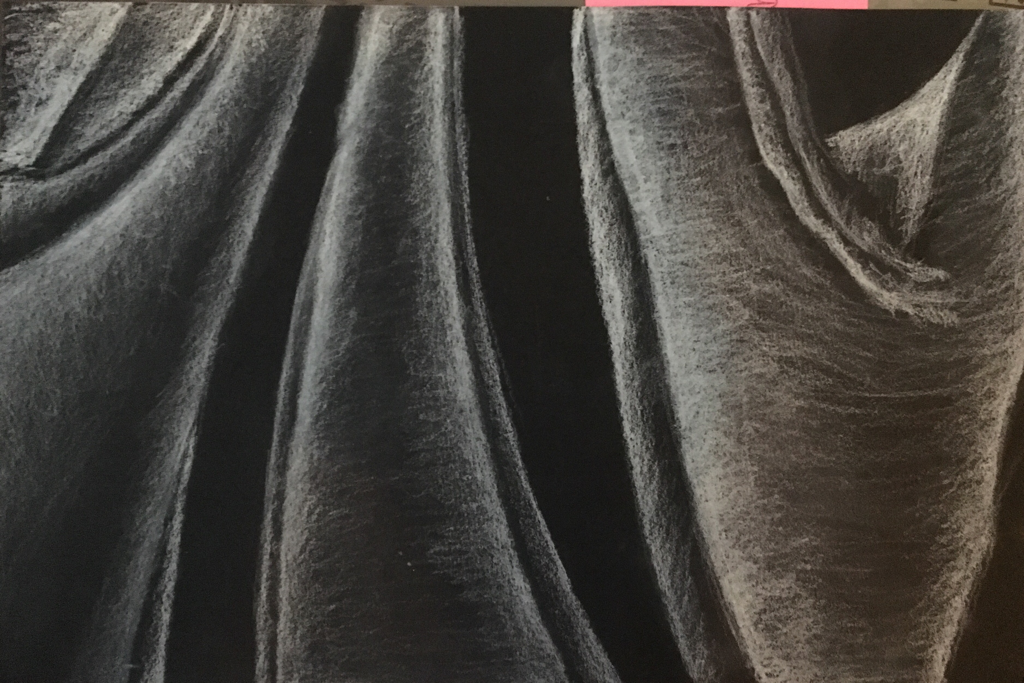 fabric 3 - white charcoal pencil on black , my technique definitely improved from the first 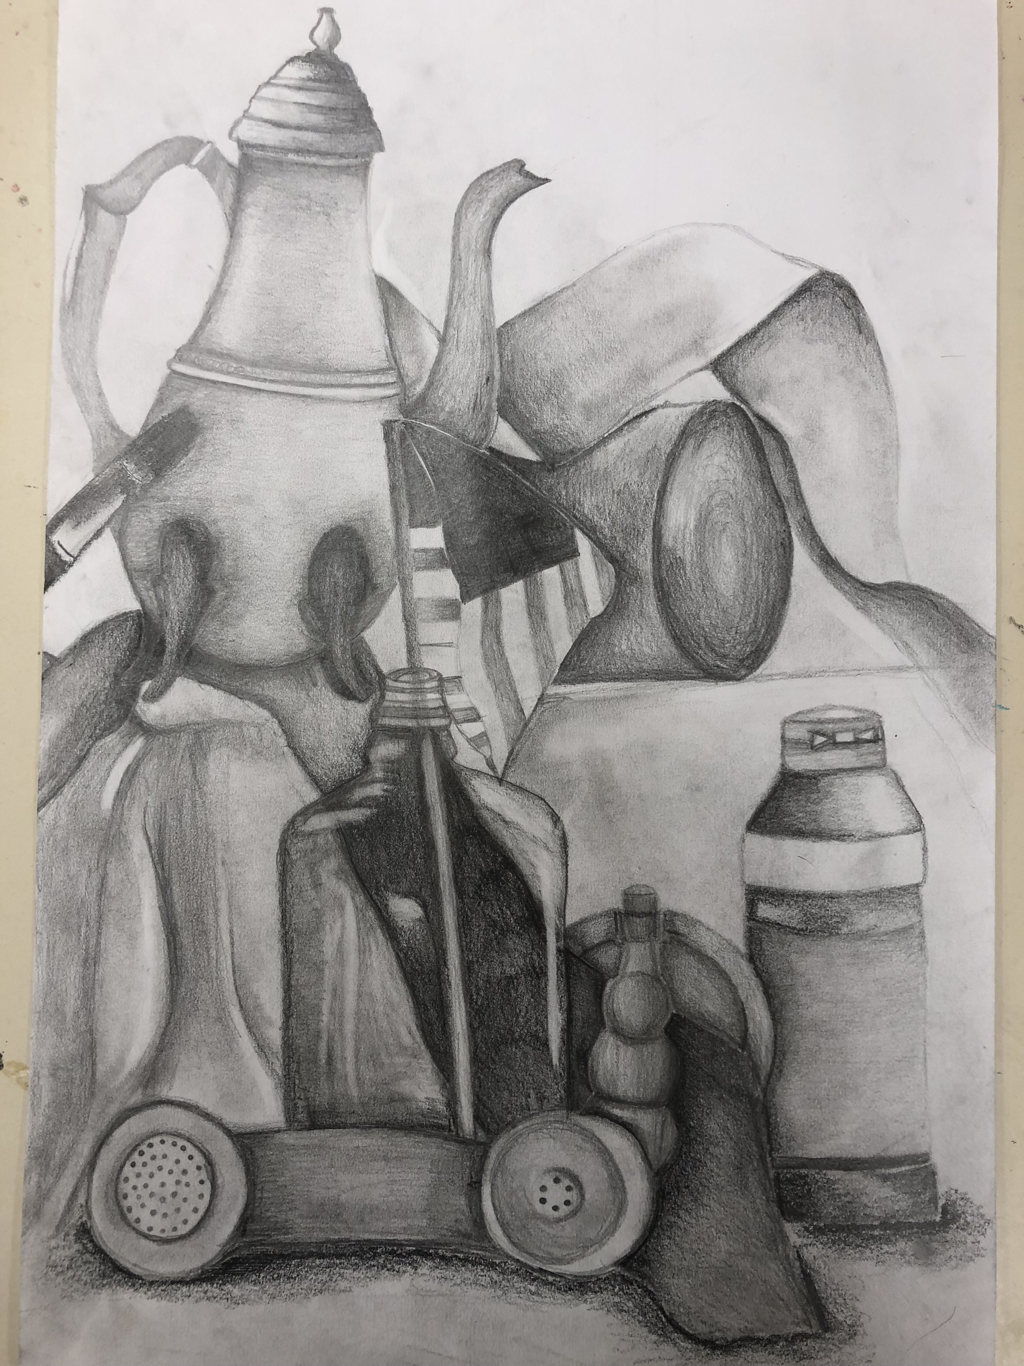 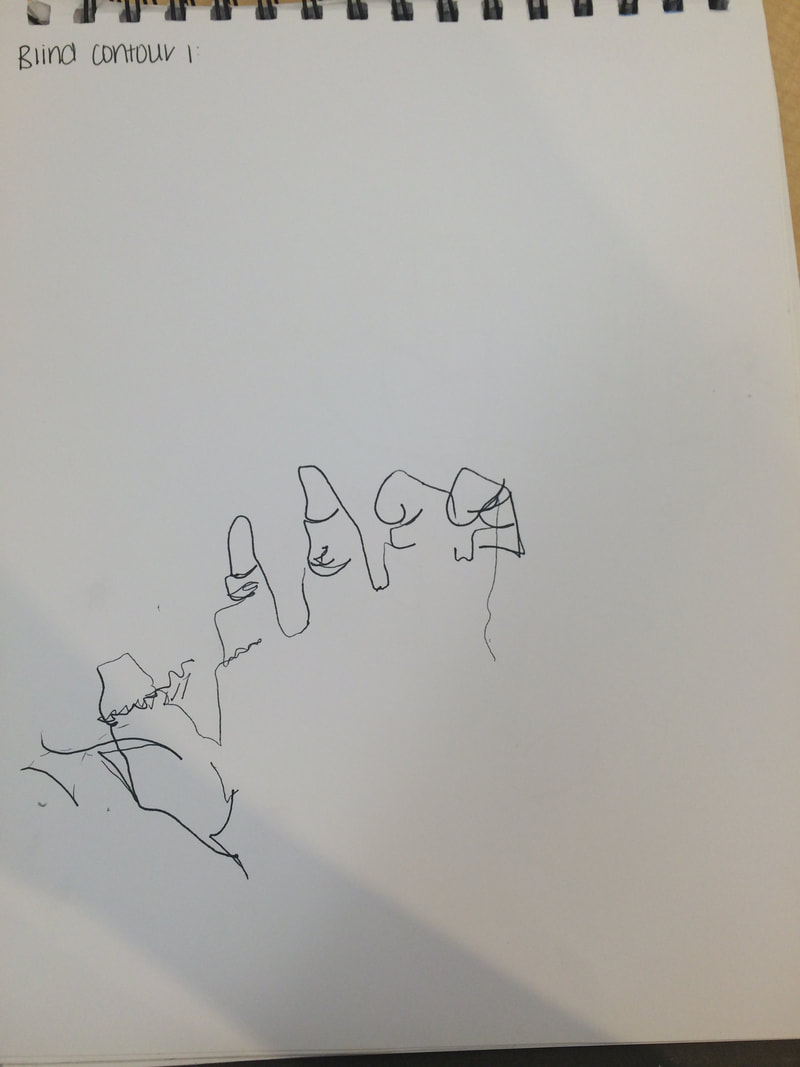 Blind Contour 1 - For this activity, we had to draw our hand with a contour line (a continuous, steady line that basically contours and outlines the shape of an image), without looking. This was difficult for me because I'm such a perfectionist, and i actually thought i was drawing a lot bigger than i was, that's why getting the proportions down was so difficult.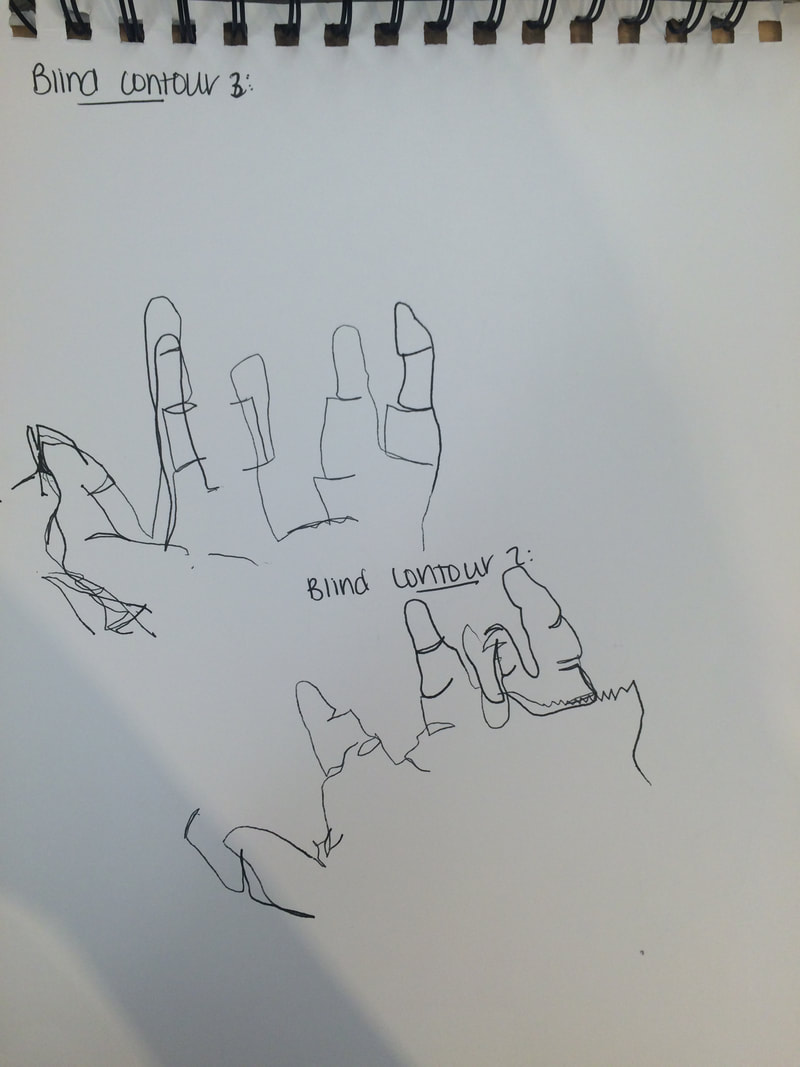 Blind Contour 2 and 3 - we had to be blind for this contour line practice too, I was frustrated because I tried to make the drawings more to scale but they continued to turn out too small, but I think it gave me good practice for the modified contour drawings we did next. 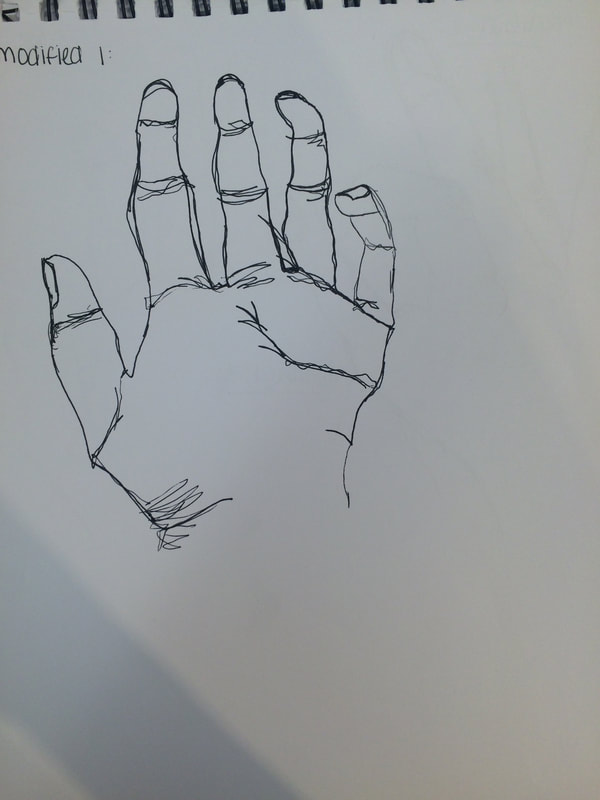 Modified contour 1 - This one turned out a lot better than the blind contours i did, it was easier to get the proportions right and to know exactly where the indents were to add more of an illusion of detail and add value. 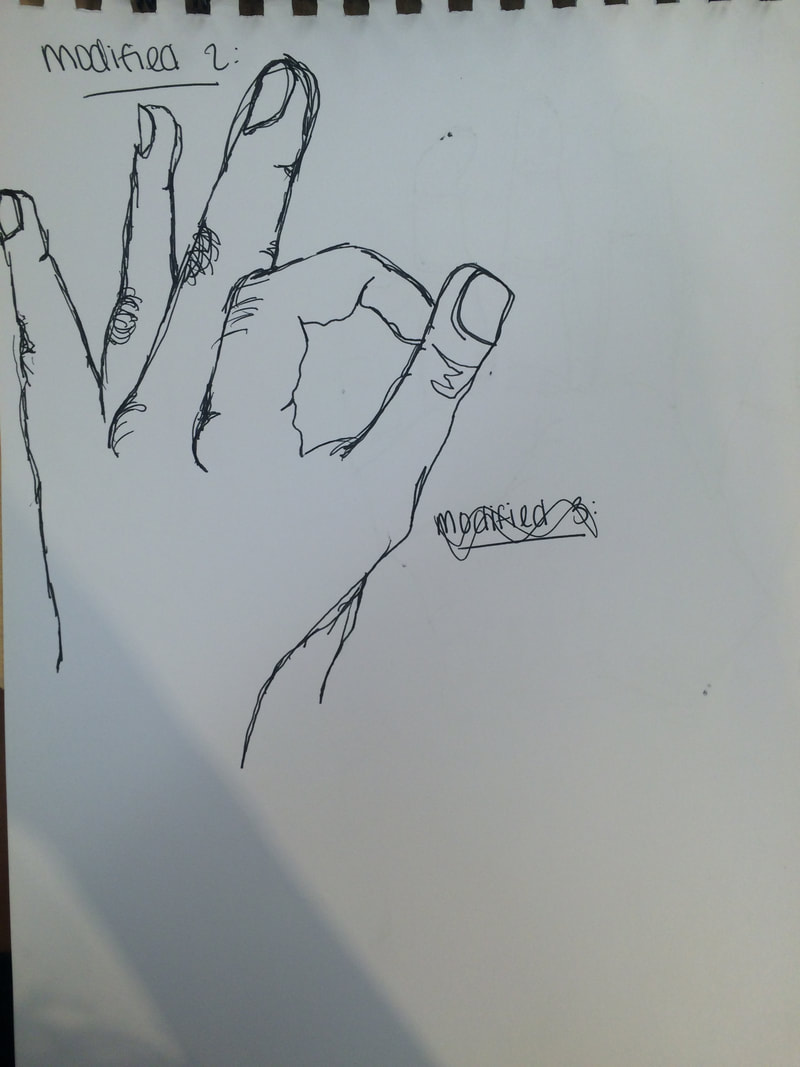 Modified contour 2 - I wasn't fully satisfied with how this one turned out but its still better than the blind contours, i see where i messed up though and i think it's from going too fast and making one of the fingers sloppy and not in proportion so on the next one i tried to slow down, every time i did one i went slower and slower. 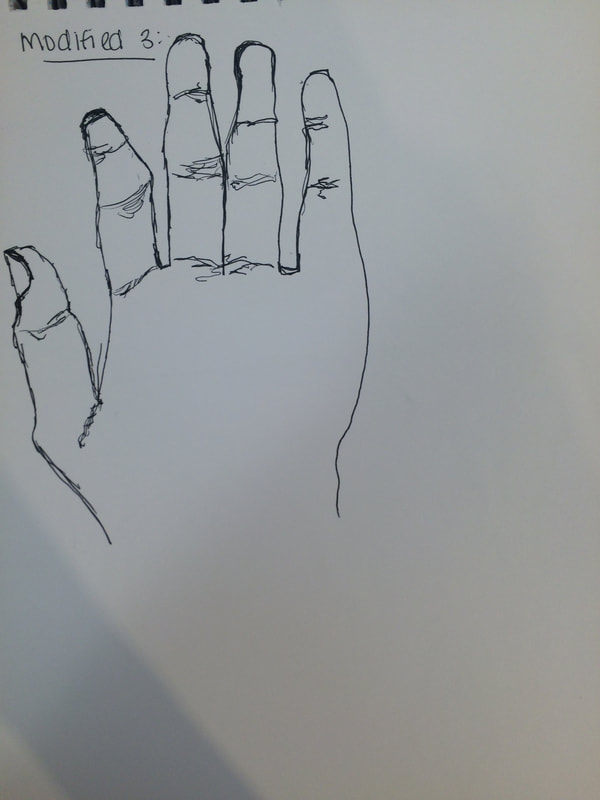 Modified contour 3 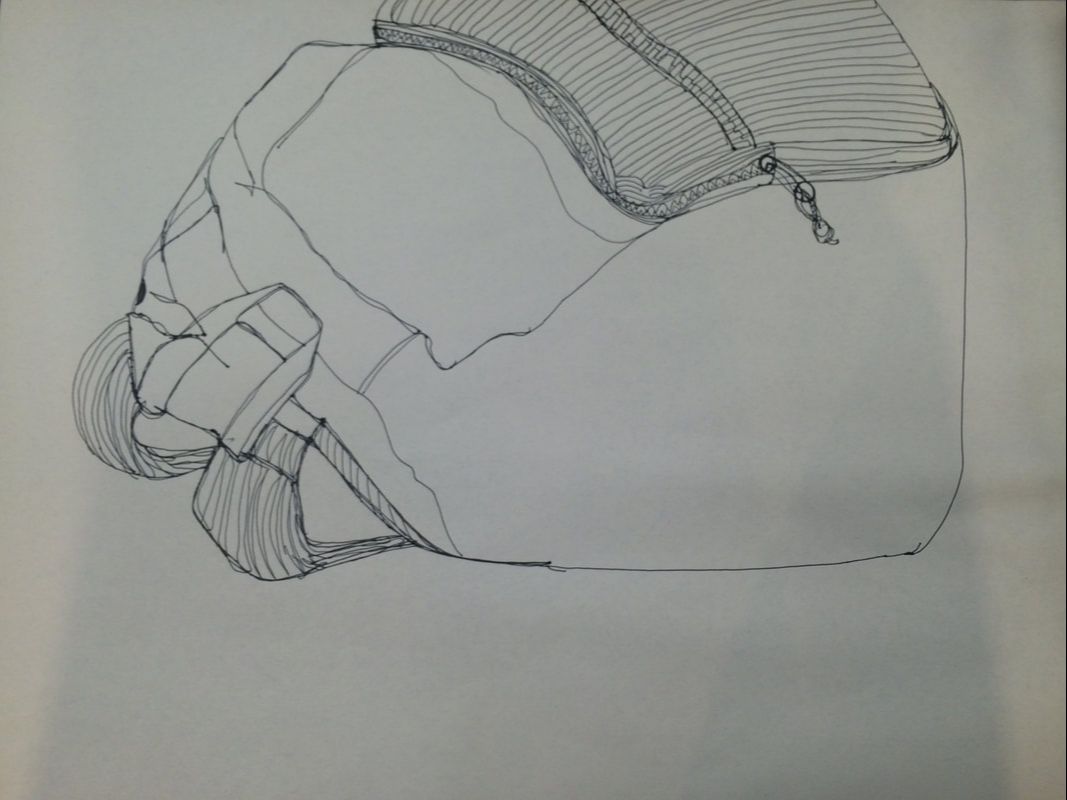 Modified Backpack contour drawing - I liked this activity and the backpack i got to draw, i think the details and overall drawing of it turned out good, but the proportions could've been better 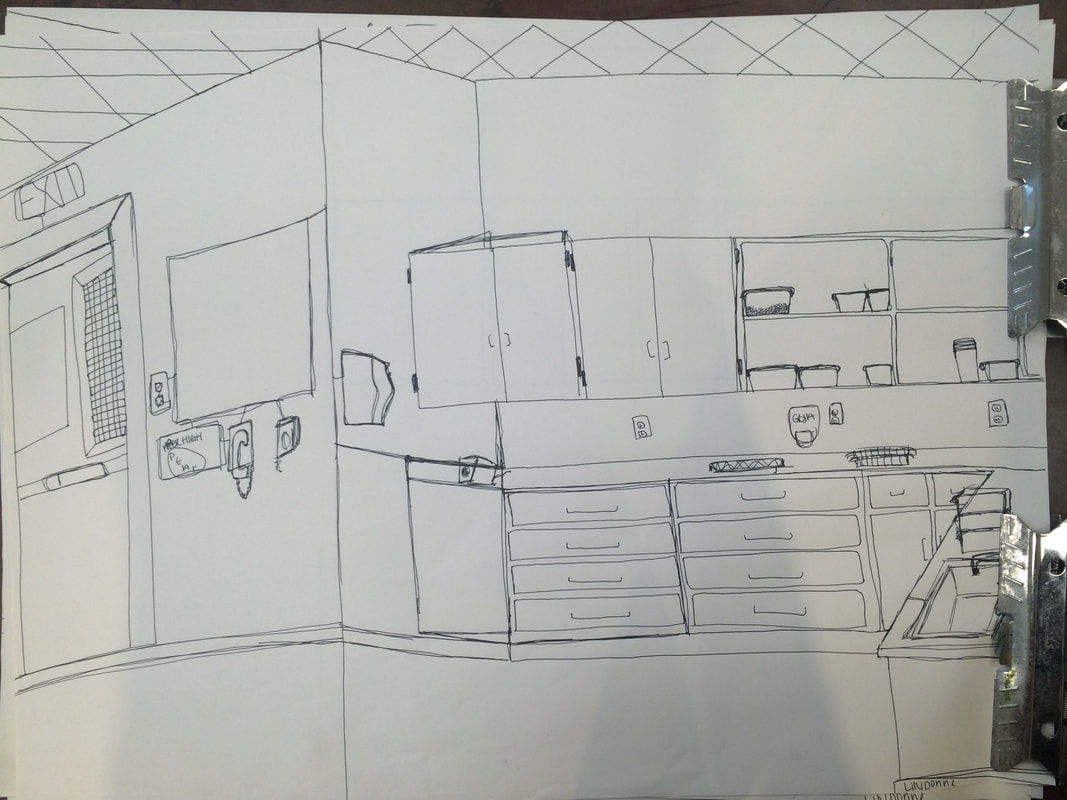 Contour line classroom (practice) - i don't like the way this turned out, I was still practicing getting the proportions and perspective of the room right. 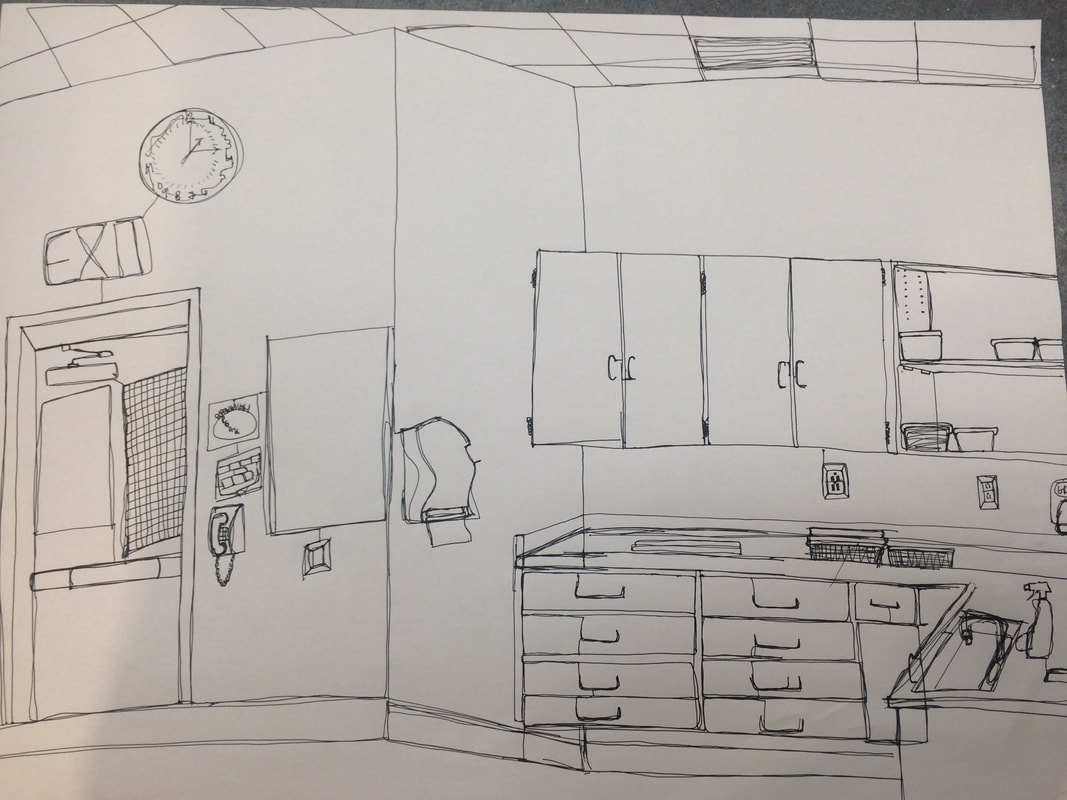 Contour line final
1. I tried my best to use a completely fluid line even though it was difficult because the room contains so many small details and empty space, but i got more of the hang of it by the final. 2. Practicing and learning about contour line drawings definitely helped me to get the technique down, i learned that it doesn't need to be completely perfect when using this way of drawing and you have to draw slowly and carefully and pay good attention to the subject you are drawing. 3. A contour line is a continuous, fluid line that outlines all of the details in a drawing in a simple way, an outline drawing is a continuous line that outlines the outer edge of an image without all the details. 4. My interpretation of line is essential because you have to create the illusion of value and proportion with minimum value and just one continuous line. 5. From completing all the practices and final i learned how to pay attention to the subject matter being drawn, if i was to redo the final one i did i would probably go slower and try to make my lines more fluid, and add as much of the little details as i could, as my drawing is somewhat missing some. |
AuthorWrite something about yourself. No need to be fancy, just an overview. Archives
January 2018
Categories |

 RSS Feed
